L2 Blockchains vs Sidechains: How to deploy a smart contract
How to deploy a smart contract using Alchemy.

 (image from gemini.com)
Gm geng 🙌.
Today, we'll discuss the distinctions between Ethereum Layer 2 Blockchains and Sidechains, as well as how to deploy a smart contract using Alchemy.
Fasten your seat belts and let’s moon 🚀.
Before we take off, it's important to understand how we got here, so let's start with L1 blockchains.
What are L1 blockchains?
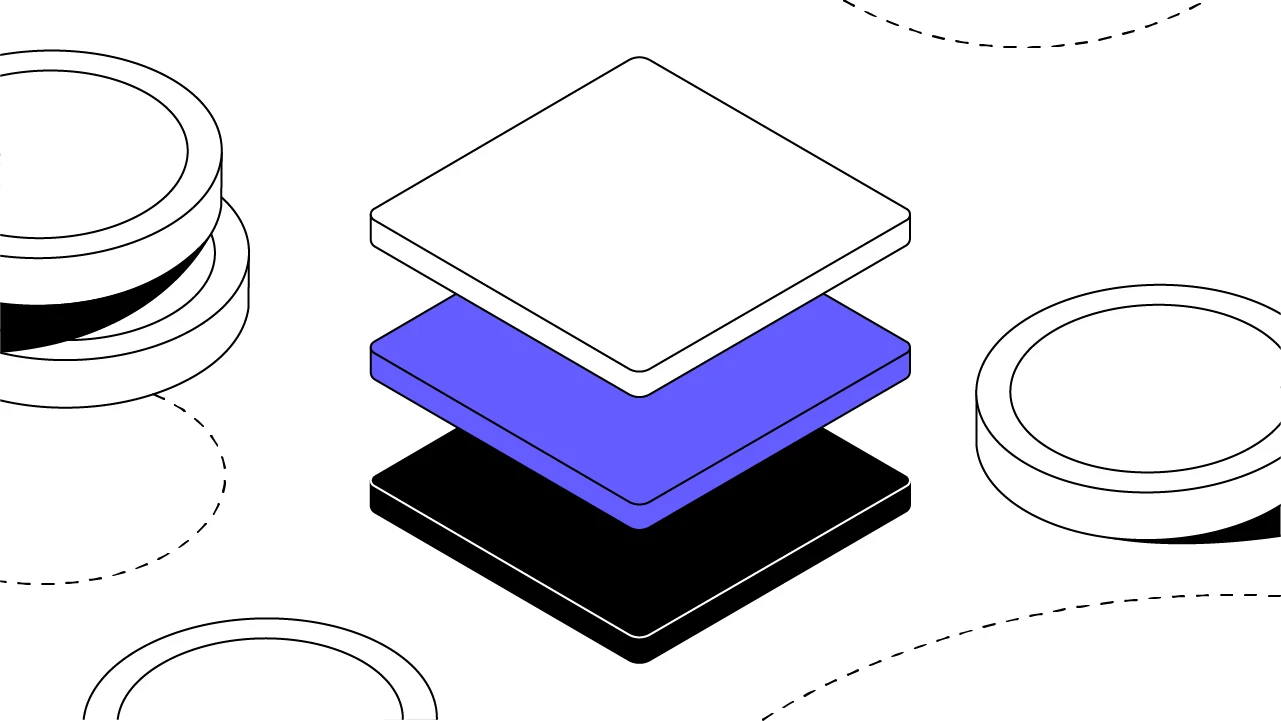
Base network blockchains and the underlying infrastructure are referred to as layer 1 blockchains. Bitcoin and Ethereum are two examples. They are crucial because they serve as the foundation for L2 and sidechains.
L1 chains offer:
- A network of node operators who are in charge of securing and validating the network.
- Block producer network.
- Blockchain technology and transaction data.
- The consensus project for the network.
To simplify things, a protocol is layer 1 when it processes and finalizes transactions on its own blockchain.
Why do we need L2 or sidechains?
A blockchain must be decentralized, secure, and scalable, but in order to achieve the latter two, L1 must often sacrifice scalability — which is what L2 and sidechains are designed to do.
Now we’re set to take off 🚀🚀.
What are layer 2 blockchains?
L2 blockchains were created to scale an L1 blockchain by processing transactions off L1 while maintaining the same level of security and decentralization. L2s are excellent because of their fast transaction speeds and low gas fees. Ethereum is a popular L1 example, and some L2s are Arbitrum One, Optimism, Polygon Hermez, and Polygon Zero.
How do L2s work?
Following transaction validation, L2s submit bundles of transactions to the L1 blockchain, which is beneficial because there is shared responsibility. Layer 1 is in charge of security, decentralization, and data availability, while Layer 2 is in charge of transactions and high scalability, and then posts the finalized proofs back to the L1.
What are sidechains?
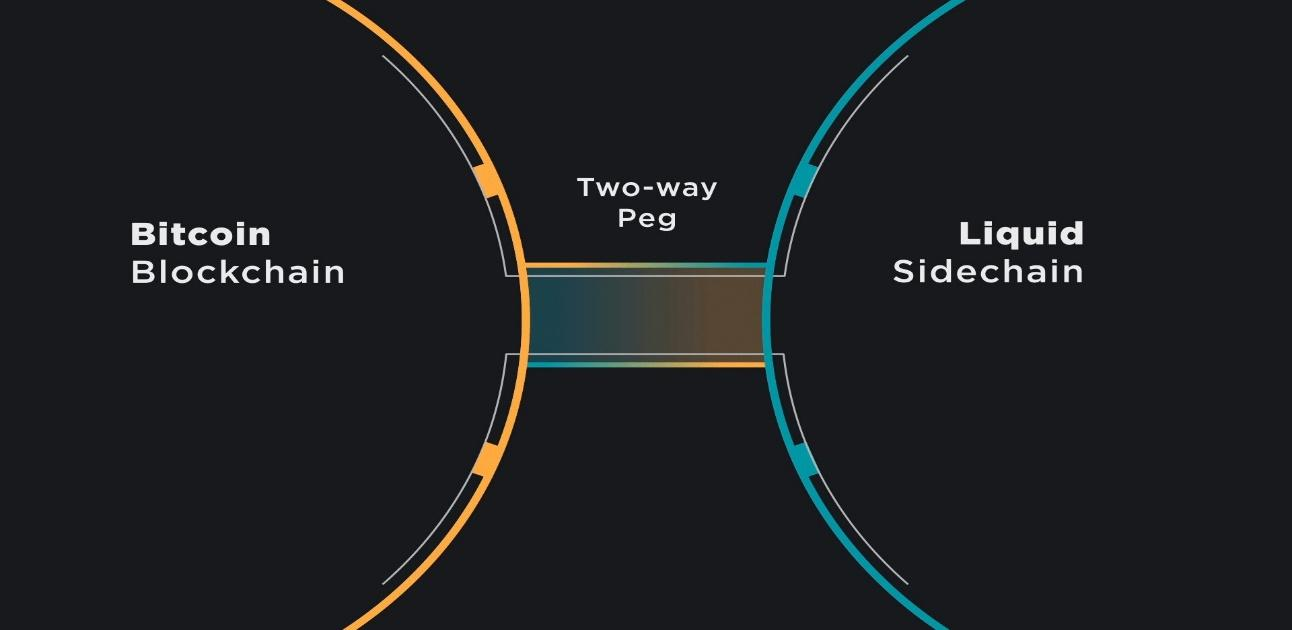 (from blockstream.com)
A sidechain is a separate blockchain that is linked to the parent blockchain via a two-way peg or bridge. They also implement their own consensus mechanisms, which increases network security.
Simply put, it is a blockchain that runs independently and concurrently with the parent blockchain. One such example is the Polygon PoS, which has Ethereum as its parent chain.
How do sidechains function?
When an asset is transferred between a mainnet and a sidechain, the asset is locked on the sending blockchain and unlocked on the receiving blockchain after the transaction has been validated.
The main difference between a sidechain and an L2 blockchain is that sidechains have their own consensus mechanisms, while L2s have to bundle their transactions to the L2. L2 blockchains are not independent.
Now to the existing part of our trip to space.
How to deploy a smart contract using Alchemy
We will code and deploy our smart contract on the Polygon Mumbai testnet using Solidity, Hardhat, Ethers.js, MetaMask and of course Alchemy.
Prerequisite: Download Node.
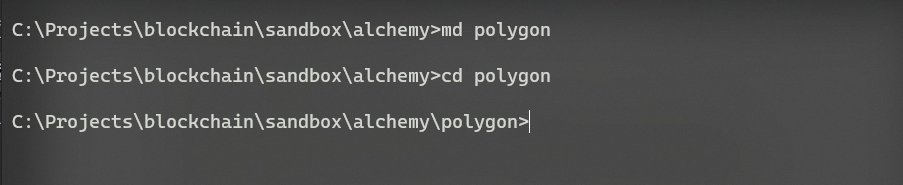
Step 1: Create and navigate to your work folder
md polygon //creates a new folder
cd polygon //navigates into the folder
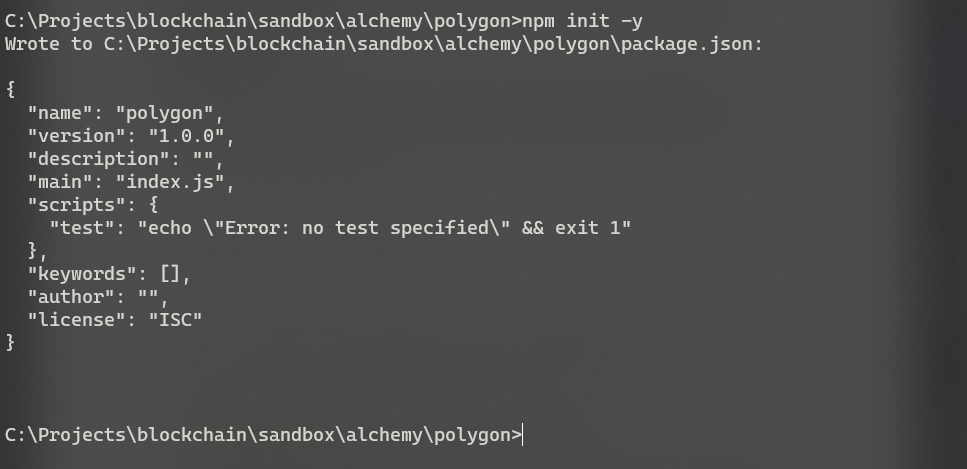
Step 2. Initialize Npm
npm init -y
These initializes our folder with npm defaults.
 Step 3: Install Hardhat
Hold on, what is Hardhat?
Hardhat is a development environment used to compile, deploy, test, and debug smart contracts for the EVM.
Run the below command to install hardhat (might take some minutes).
npm install --save-dev hardhat
Step 4: Create a Hardhat project
Run the below command to create a Hardhat project. You’ll get a welcome message asking you what you want to do. Choose
Create a basic sample project.
npx hardhat
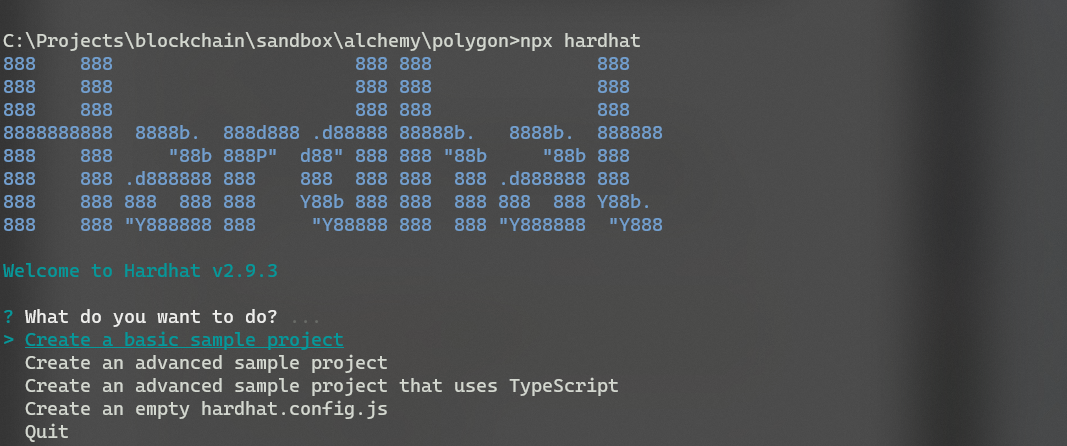
Accept all the defaults and let’s continue.
Hardhat generously generates a hardhat.config.js and some folders with sample code we can work with like contracts, scripts, and test.
Step 4b: Install Hardhat dependencies
npm install @nomiclabs/hardhat-waffle
npm install --save-dev "@nomiclabs/hardhat-ethers@^2.0.0" "ethereum-waffle@^3.2.0" "ethers@^5.0.0"
Step 5: Dive in
Open your folder in the editor of your choice.
You can run code . to open it in VSCode.
In the contracts folder, you’ll see the Greeter.sol file. It is a basic smart contract that allows us to set a greeting and read the greeting from the contract.
//SPDX-License-Identifier: Unlicensed
pragma solidity ^0.8.0;

import "hardhat/console.sol";

contract Greeter {
    string private greeting;

    constructor(string memory _greeting) {
        console.log("Deploying a Greeter with greeting:", _greeting);
        greeting = _greeting;
    }

    function greet() public view returns (string memory) {
        return greeting;
    }

    function setGreeting(string memory _greeting) public {
        console.log("Changing greeting from '%s' to '%s'", greeting, _greeting);
        greeting = _greeting;
    }
}
Step 6: Connect to Polygon Mumbai using Alchemy
Alchemy makes web3 development easy and that’s why we’d be using it for this tutorial.
Create an Alchemy account by visiting Alchemy.
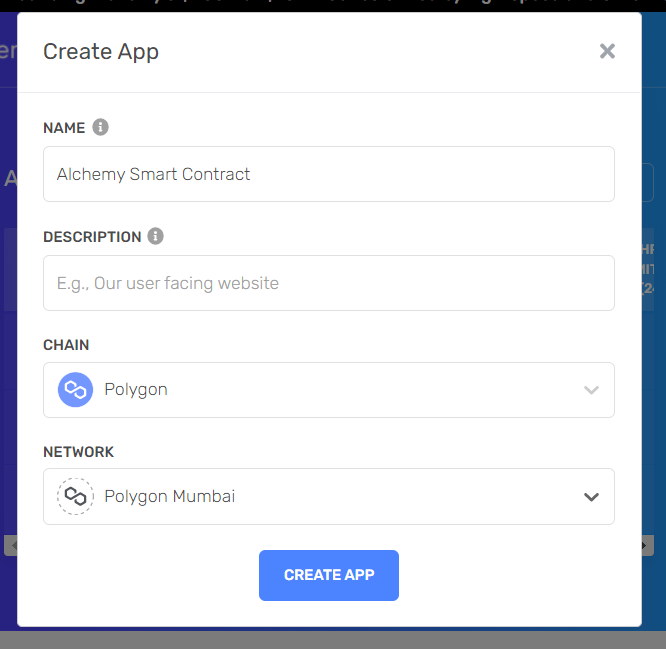
Click on create app and proceed to fill the form. Remember to select Polygon as the Blockchain and the Polygon Mumbai as the network.
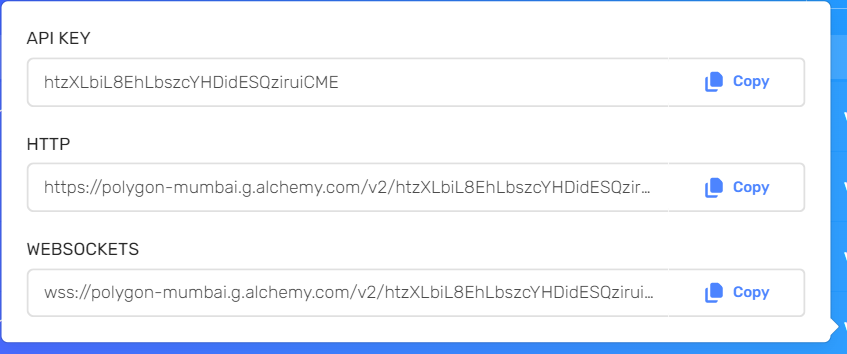
Copy your Key by clicking on View key. Keep them safe as they are your credentials to the App.
Step 7: Switching to Mumbai Testnet on your MetaMask
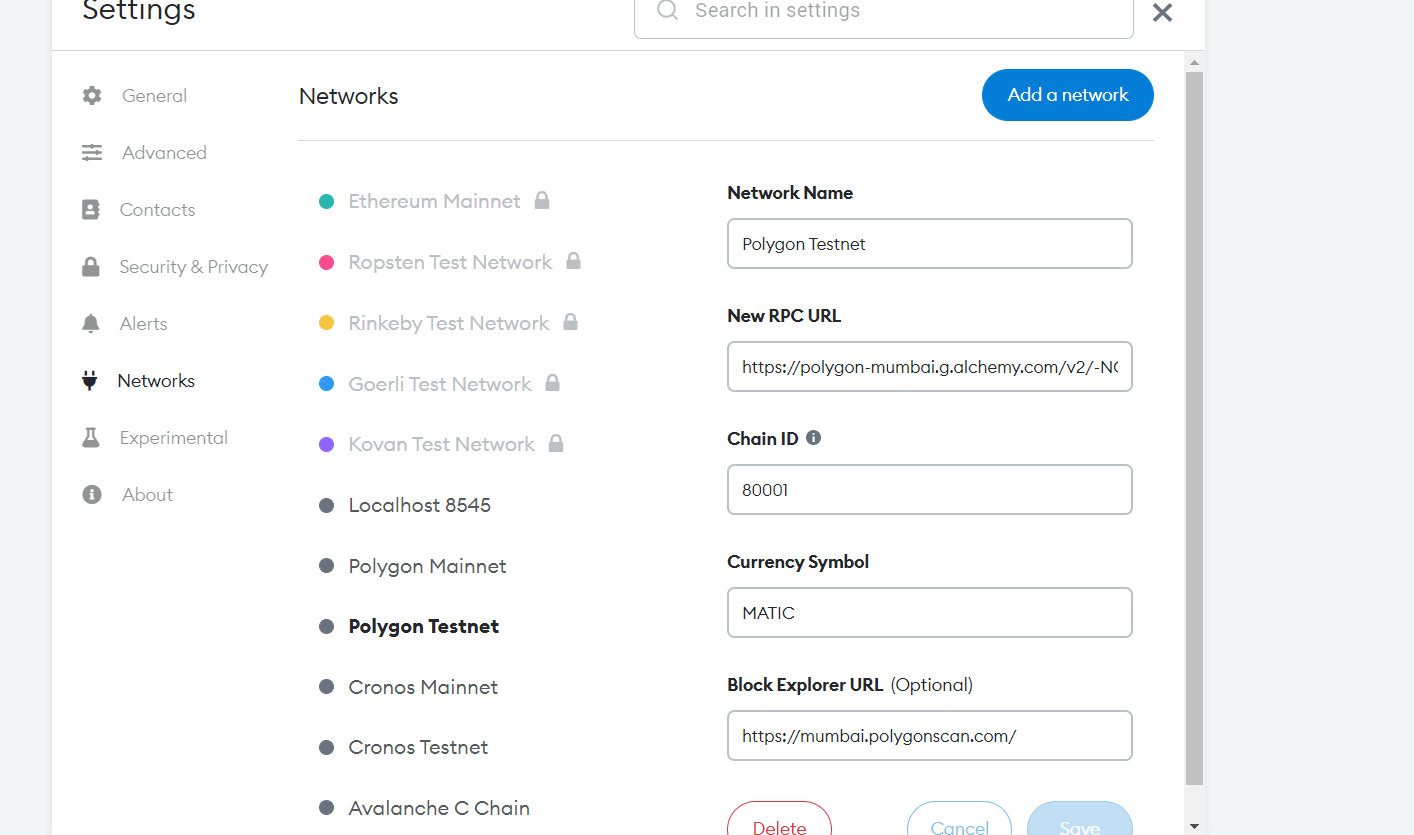
Follow this guide to add Mumbai Testnet to your MetaMask or Open MetaMask > Settings > Network > Add a new network and then fill the form with the details below:
Network Name: Polygon Testnet
RPC URL: [RPC URL copied from Alchemy]
Chain ID: 80001
Symbol: Matic
Block Explorer: https://mumbai.polygonscan.com/
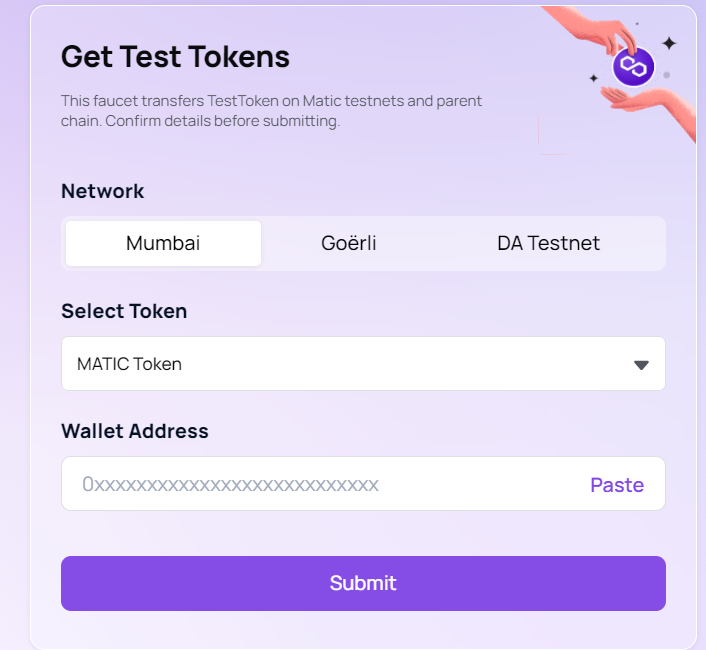
Step 8: Fund your wallet with some test matic
Visit Polygon’s faucet to fund you wallet with test matic needed to deploy our contract.
Step 9: Link Alchemy and Metamask to hardhat
Follow these instructions here to export your private key.
In your root folder: Create a .private_key file and paste the private key exported from your MetaMask.
Create a .alchemy_api file and paste the Url copied exported from your Alchemy
Update your hardhat.config.js to look like this
require('@nomiclabs/hardhat-waffle');

// This is a sample Hardhat task. To learn how to create your own go to
// https://hardhat.org/guides/create-task.html

const fs = require('fs');
const privateKey = fs.readFileSync('.private_key').toString().trim();
const alchemyApi = fs.readFileSync('.alchemy_api').toString().trim();

task('accounts', 'Prints the list of accounts', async (taskArgs, hre) => {
  const accounts = await hre.ethers.getSigners();

  for (const account of accounts) {
    console.log(account.address);
  }
});

// You need to export an object to set up your config
// Go to https://hardhat.org/config/ to learn more

/**
 * @type import('hardhat/config').HardhatUserConfig
 */
module.exports = {
  networks: {
    mumbai: {
      url: alchemyApi,
      accounts: [privateKey],
    },
  },

  solidity: '0.8.4',
};
What we’ve just done is to configure Hardhat to use our private keys and specify the network to deploy to. This allows us to communicate with blockchain
The journey isn't taking long, is it? We’ll get to the moon in no time. 🚀🚀
Step 10: Compile your smart contract
Hardhat allows us to compile our contract by running npx hardhat compile from the command line
npx hardhat compile
You should get something like this afterward

Last Step: Deploy your smart contract
Finally, we are on the moon and it’s time to land.
Runnpx hardhat run scripts/sample-script.js --network mumbai to deploy your smart contract.
npx hardhat run scripts/sample-script.js --network mumbai
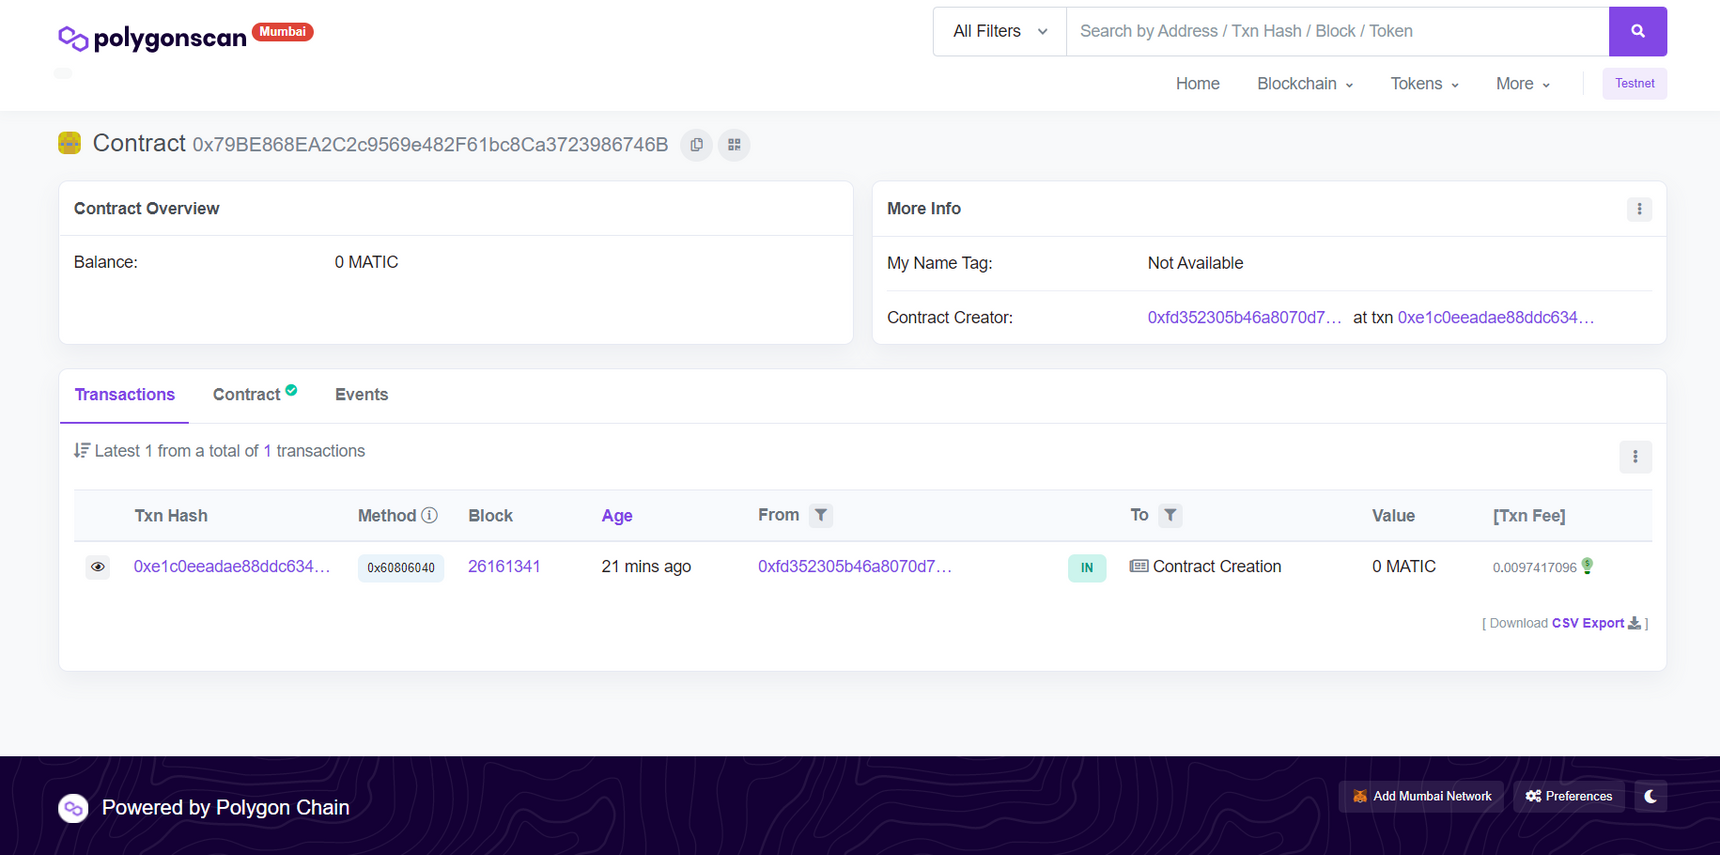
Once successful you should get the contract address that contains your smart contract.

You can take another step on the moon to check out your address on the Polygon Mumbai Explorer
Thanks for taking a trip to the moon with me. Hope you enjoyed the trip.
We can also explore how to verify our smart contracts in a later series.
Sidenote: Choosing between a Layer 2 Blockchain and a sidechain mostly depends on the needs of your application.
🚀🚀🚀🚀🚀
