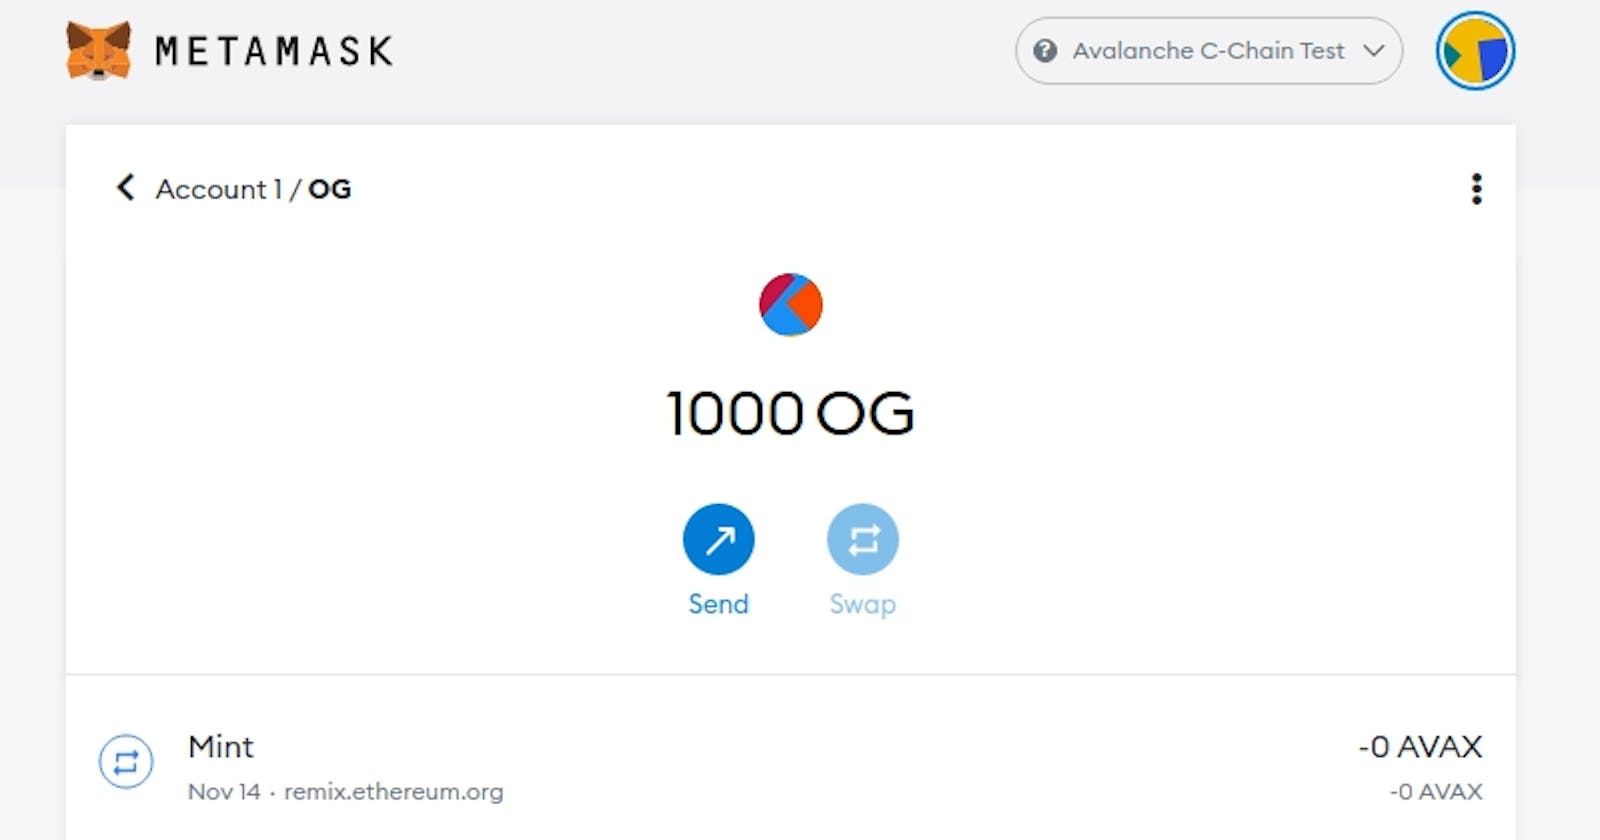
By the end of this post, you would be able to create your first token and mint it on any address you want. we would be using the Avalanche C-Chain.
Before we get started, let's go through the basics.
What are tokens? Tokens can be used represent almost anything in Ethereum, from currencies to points in any online platform.
What is ERC-20? It is a standard that allows developers to build applications in a way that it can be used by other services. It allows tokens to be created exactly the same way another token was created.
Preparation
Download & Setup Metamask
- Install on your web broswer
- Create a new account or import an existing one
- Configure the Avalanche C-chain testnet(free)
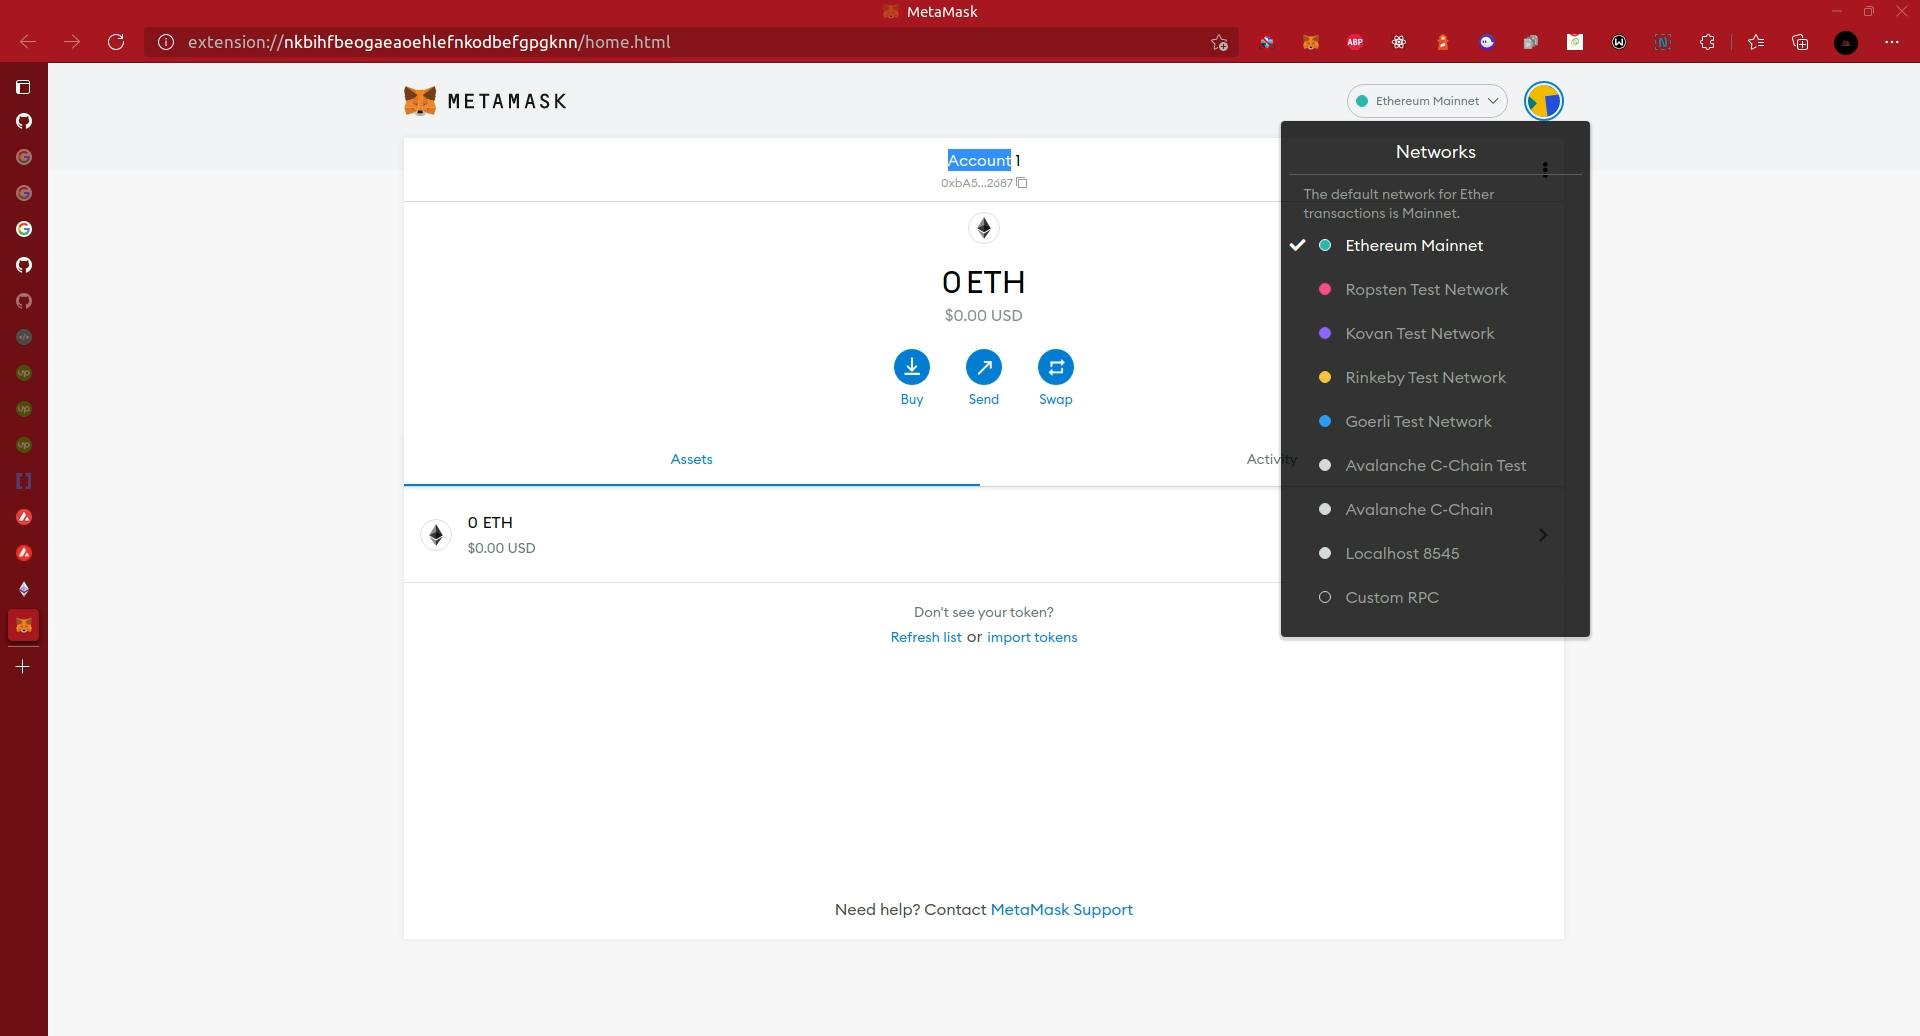
Now, Fill the appropriate boxes with correct values.
- Network Name: Avalanche C-Chain
- New RPC URL:
- Mainnet: api.avax.network/ext/bc/C/rpcFuji
- Testnet: api.avax-test.network/ext/bc/C/rpc
- rpcChainID:
- Mainnet: 43114
- Fuji Testnet: 43113
- Symbol: AVAX
Explorer:
- Mainnet: snowtrace.ioFuji
- Testnet: testnet.snowtrace.io
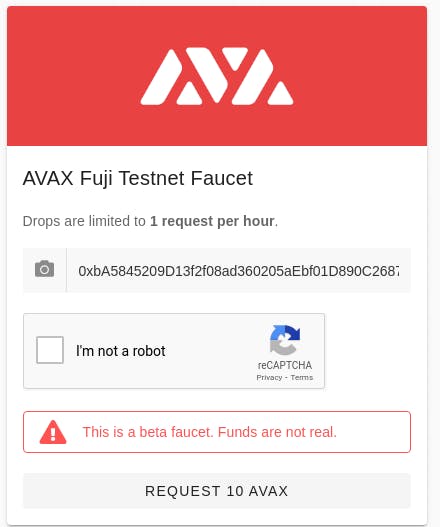
Fund your C-Chain address Using Avalanche Wallet On the main net, you can use the Avalanche Wallet to transfer funds from the X-Chain to your C-Chain address. Using Test Network Faucet On the test network, you will the Test Network Faucet. Navigate to faucet.avax-test.network and paste your C-Chain address.
Create your token
For the sake of this post, we'd be using Remix - the online editor Click here

You can choose to delete all existing files in the workspace or ignore them. Create a file and give it any name you want but make sure the extension is .sol.
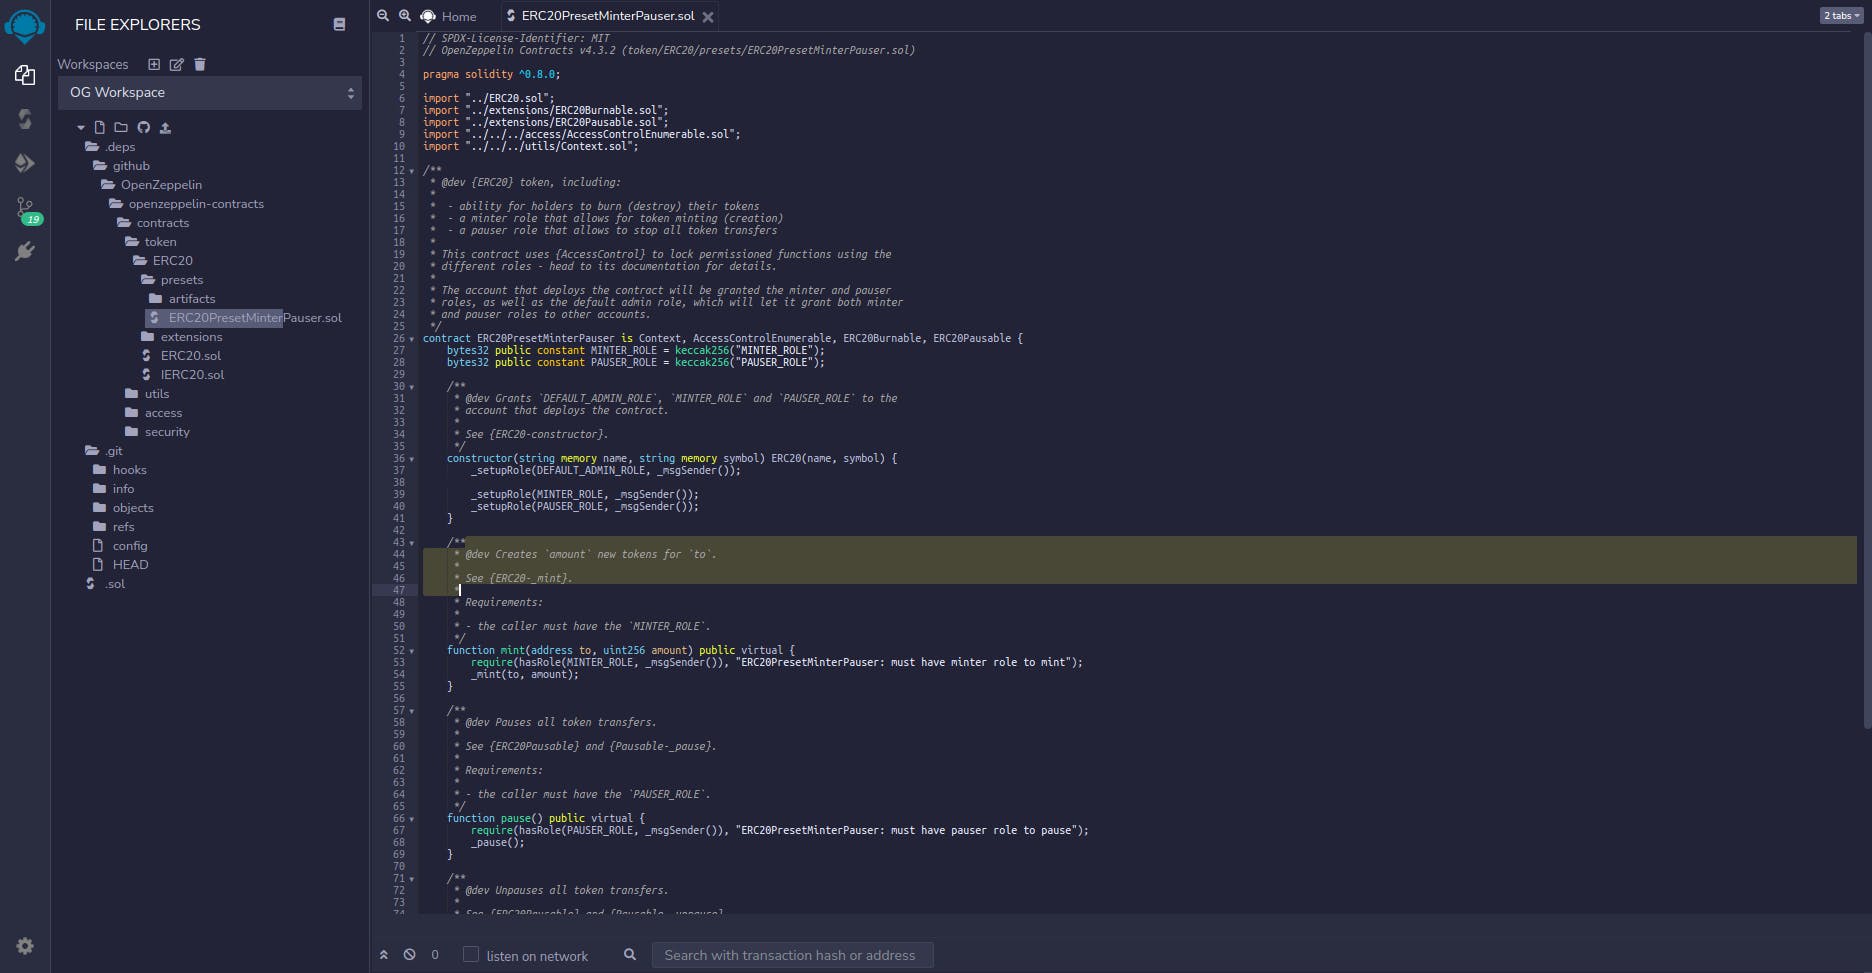
Next up is finding a Standard ERC-20 Smart Contract. We of course want to use a well tested open source implementation like the official Consensys or Open Zeppelin implementation. We'd be using the OpenZeppelin standard. Copy this line and paste into the newly created .sol file.
import "https://github.com/OpenZeppelin/openzeppelin-contracts/blob/master/contracts/token/ERC20/presets/ERC20PresetMinterPauser.sol";
Once the file is saved, remix automatically imports the github repository into our workspace. Locate the ERC20PresetMinterPauser.sol file in the presets which was written by OpenZeppelin according to ERC20 standards with minter functionality. After deploying this file, we will be the owner of the contract and we will be ability to mint the tokens.
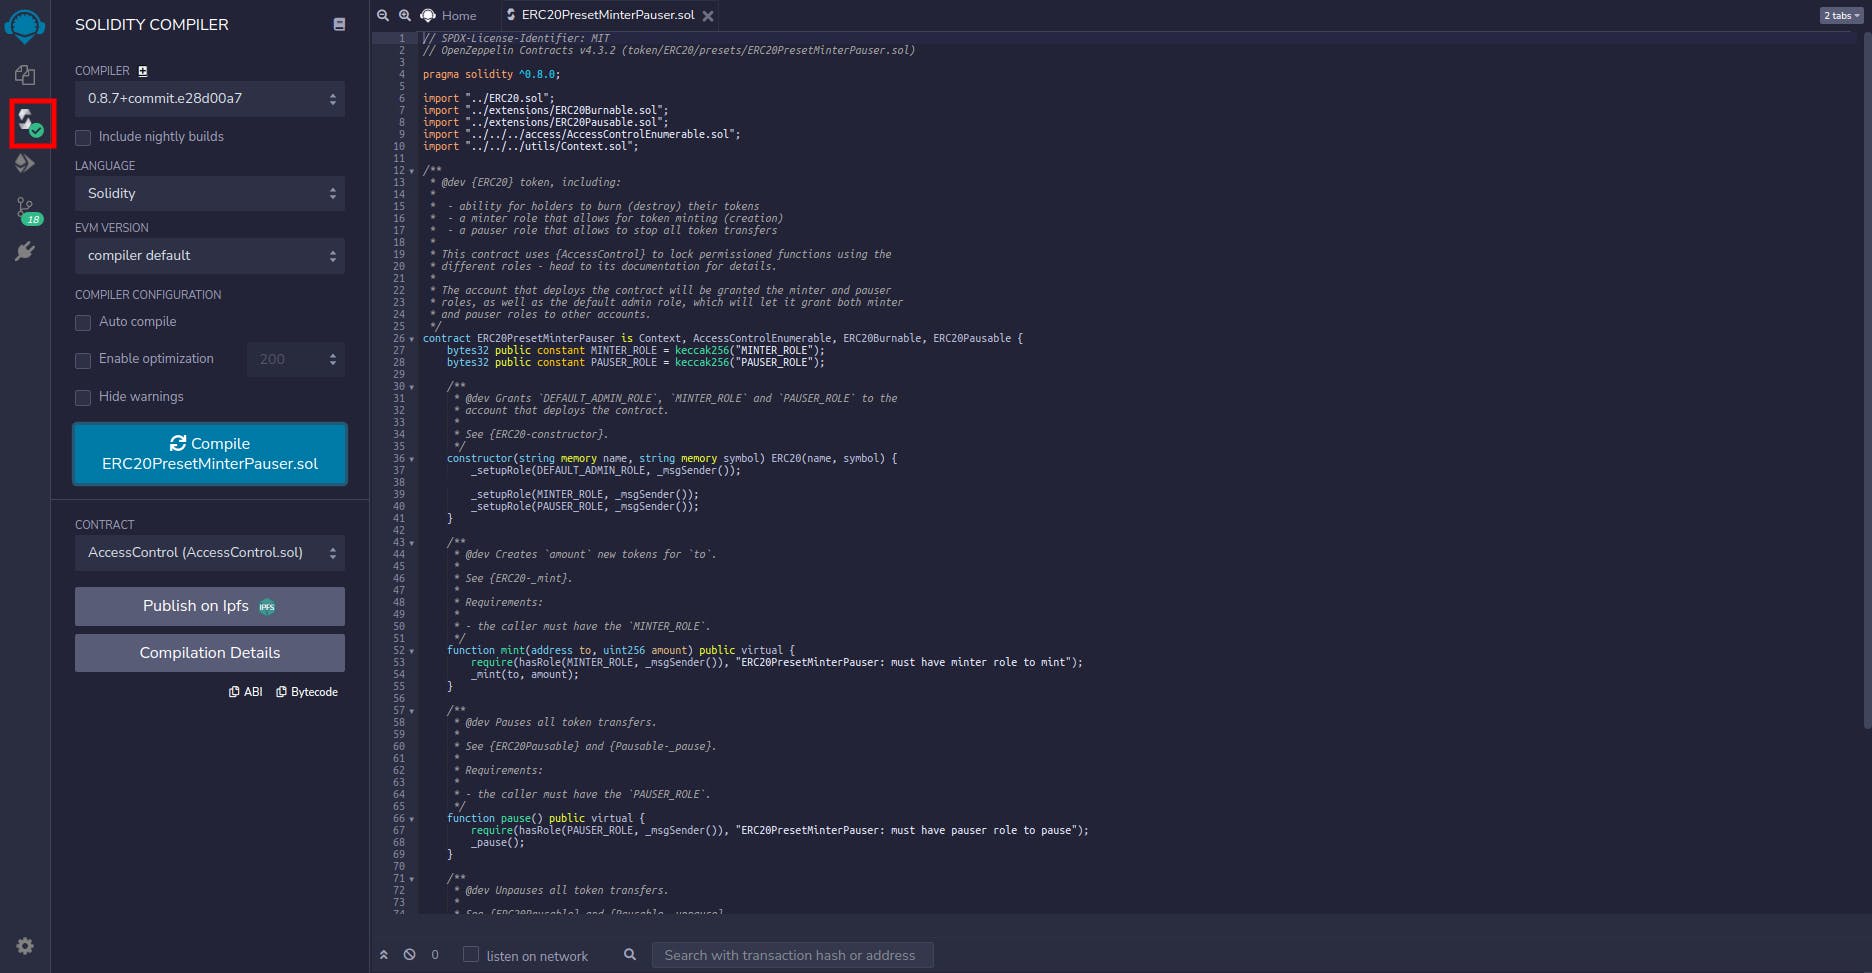
Deploying the contract Open the second tab - Solidity Compiler Check that the Solidity Compiler matches the solidity version written in the file as "pragma solidity...". NB: the compiler's version should be equal or higher than the file's version. Since we are using the OpenZeppelin contract directly from github, you can choose to compile or not. Should you choose to compile, you should have no errors if you did not change anything in the file, or the solidity version is not wrong.
Proceed to the third tab - Deploy and Run Transaction.
- Change the environment to "Injected Web3". A pop-up might show up asing you to connect the account, click connect. After, you should see the account address in the "ACCOUNT" textbox.
We're almost done...
- Right above the Deploy button there is a drop-down menu to select a contract. Select the contract named "ERC20PresetMinterPauser.sol".
- Expand the Deploy text to reveal the Name and Symbol Fields. Here, enter the name and symbol of you token (check the highlighted section).
- Click on Deploy and confirm the pop-ups shown.
We have successfully deployed our token to the avalanche C-Chain, now let us play with it.
Before the copy your transaction hash from the remix console, we will need it soon.
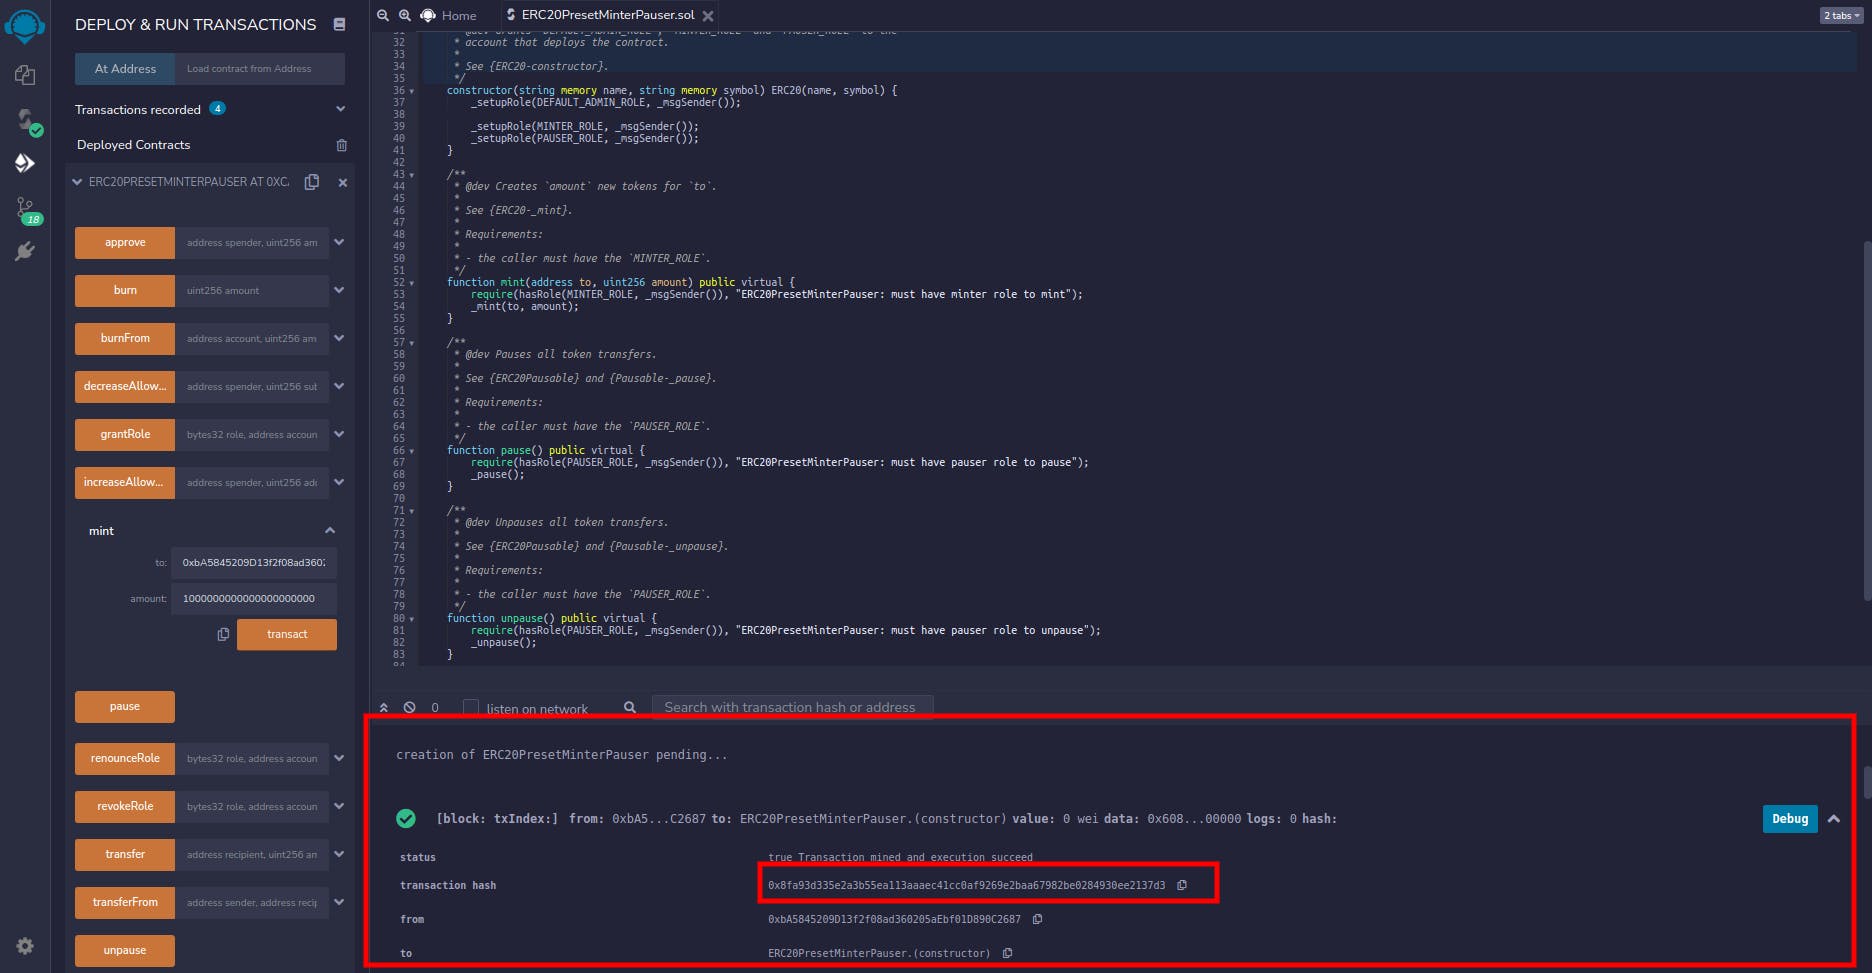
Paste the transaction hash into the [explorer] testnet.snowtrace.io) (if you're using the mainnet, check the url shared earlier)

The first one is the wallet address that created the token and the second address is the new token contract address. Now, let’s finish this off by minting some token to our own address.
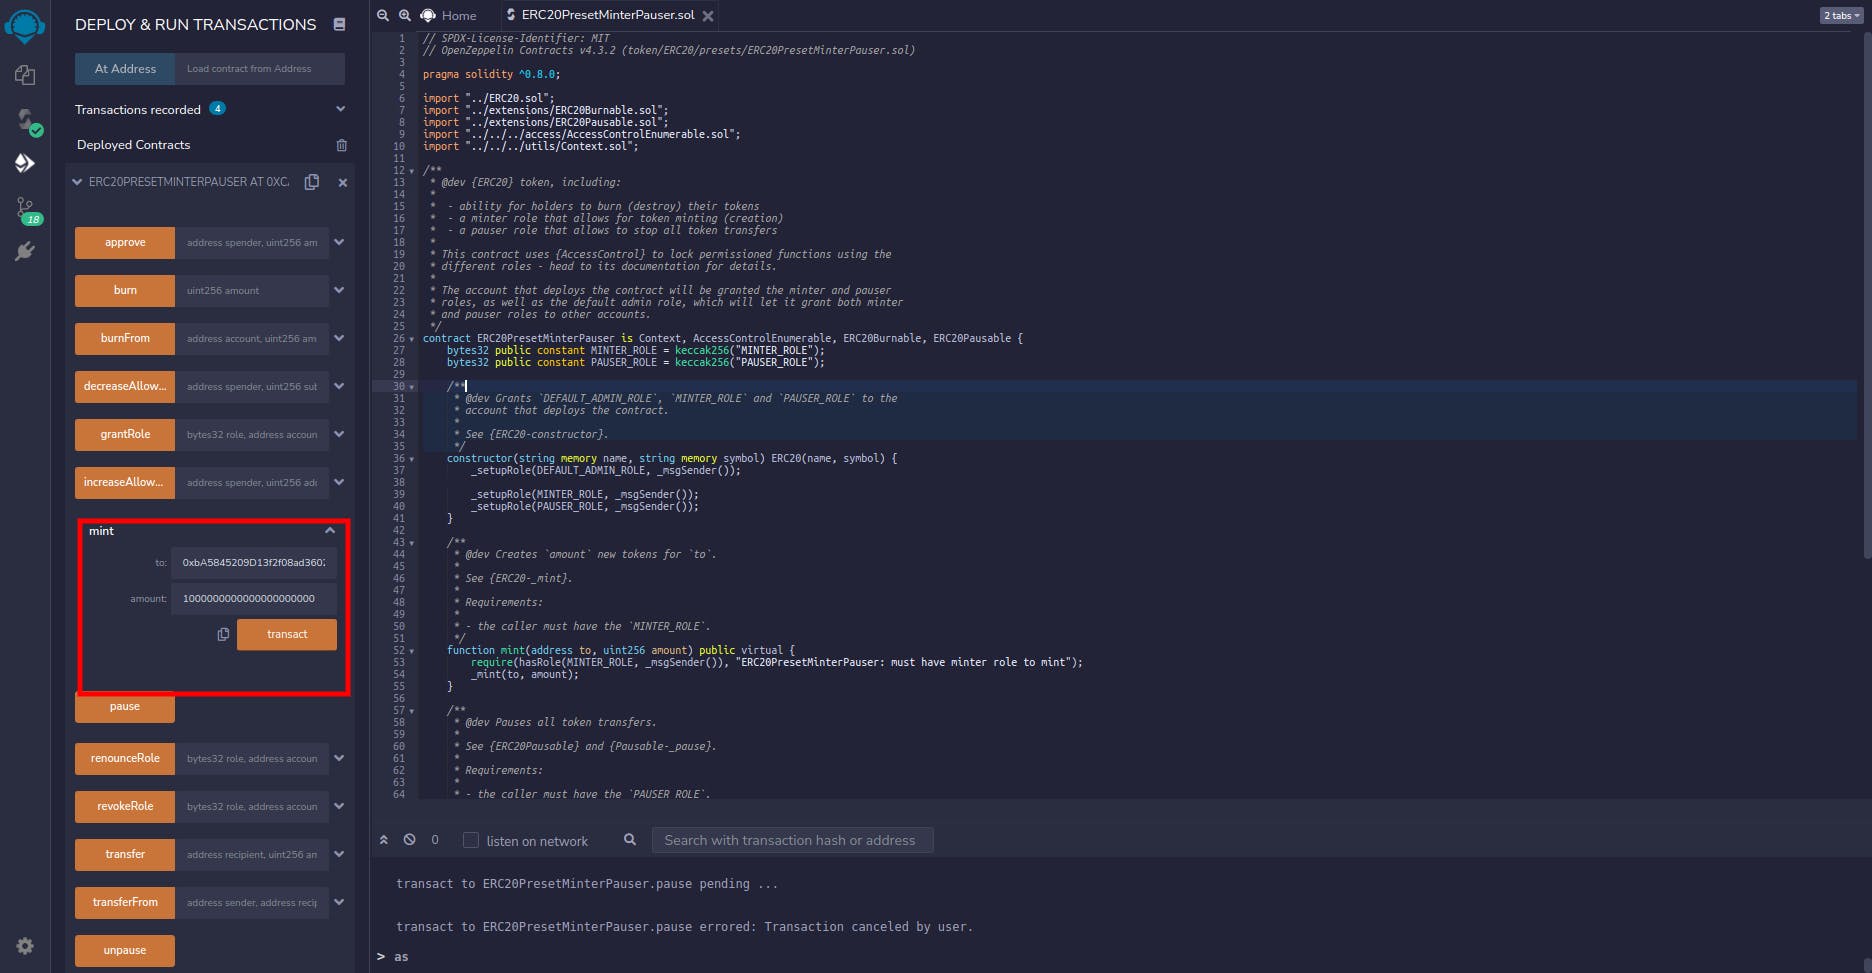
We are back in Remix and now we will see the contract in "Deployed Contracts". You will see a long list of functions provided by the smart contract used, we only need the mint method.
Click the arrow beside it and paste your AVAX address from Metamask, to mint 1000 of your token use "1000000000000000000000" and click transact to finish.
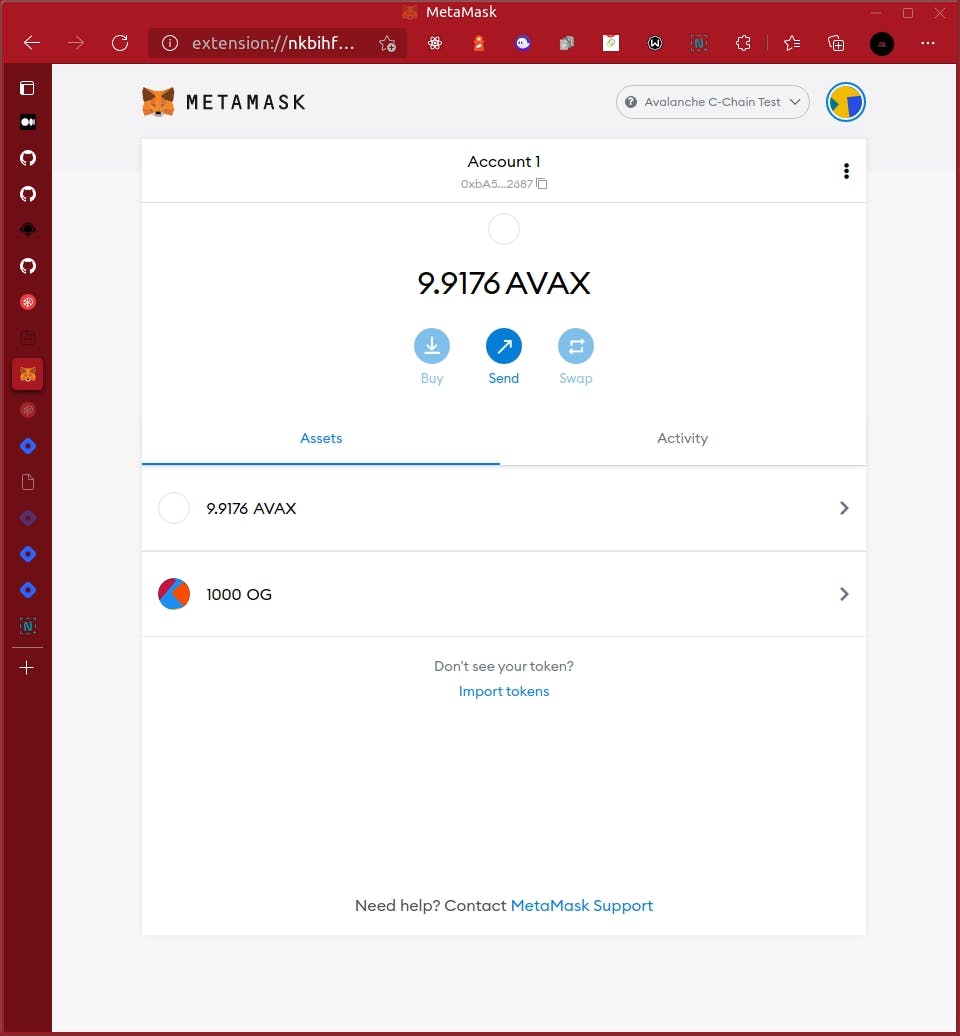
Add your token to Metamask
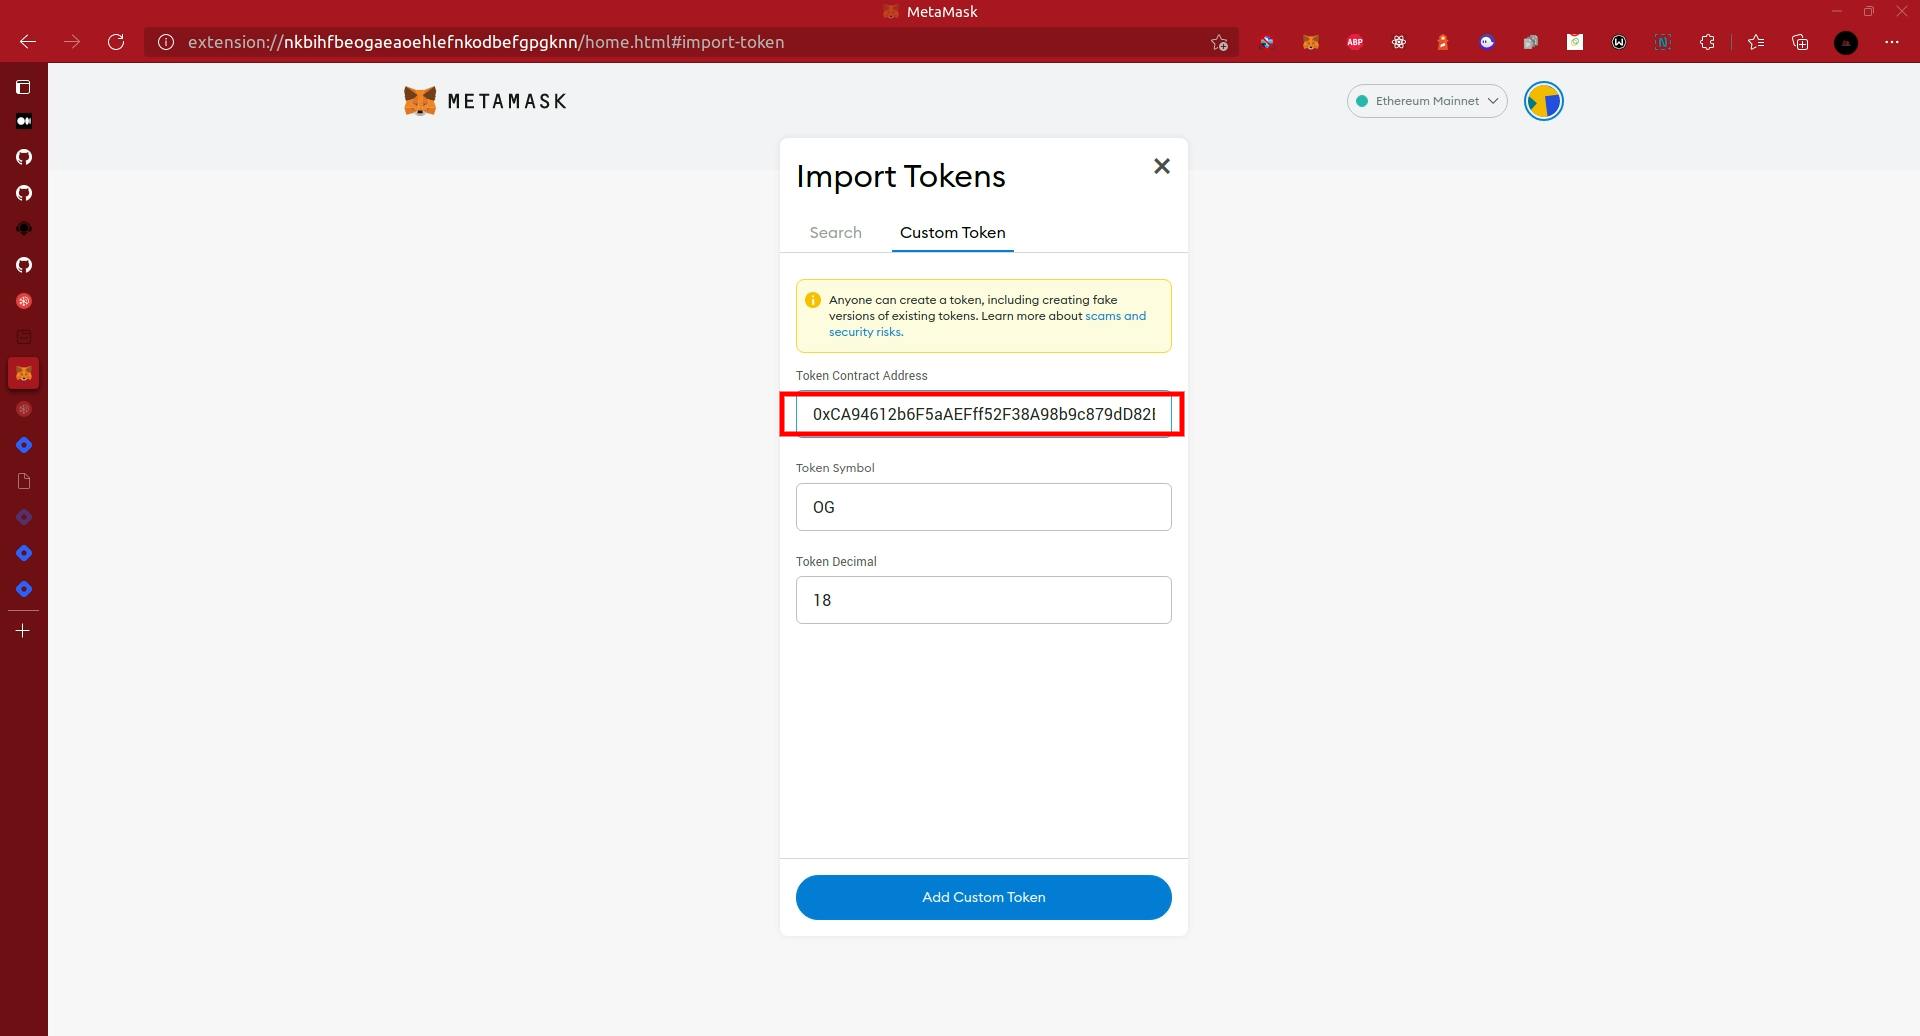
We have to add our token to Metamask in order to see it. Click "Add Token" button and select "Custom Token" tab.
Congratulations, you have successfully created your very first ERC-20 token. :)
Catch me on twitter. :)
